Today, I’m doing something a little different. I’m creating a guide that is not only something I wanted to share with you, but also as something that I can reference myself.
Recently, I’ve been jumping back into editing. Although it is something that I love doing, post-production is also something that I can go months without doing. However, with the new wave of projects I’m working on, I’m finally able to jump back into editing software, such as Adobe Premiere Pro and Adobe After Effects.
I’ve been an Adobe user since I began working with their software back in college. When I began photography as a hobby, I started with the basics in Photoshop and Illustrator. Through that, I was introduced to many of their related programs.
From a video editing perspective, I was “classically trained” in Final Cut Pro. This was when the software was a fantastic and powerful editing too. Not the stripped down Final Cut Pro X that was released a few years later.
 However, when I was working from my dorm, I had no access to Final Cut. My solution was to test out the alternatives. I found Adobe Premiere Pro to be a very effective editing tool for the jobs that I needed done.
After graduation, Premiere Pro became my primary tool for video editing. It wasn’t until I started diving deeper into local video projects that I was able to heavily utilize this tool. Unfortunately, there came a time that I had to step away from post-production.
Which brings me to my point. When I haven’t used certain software in a while, I tend to just forget all of the shortcuts and tricks that make my job a little easier. I’ve decided to go back and refresh myself on some of the basic shortcuts, not only for me but also for any new or amnesic users.
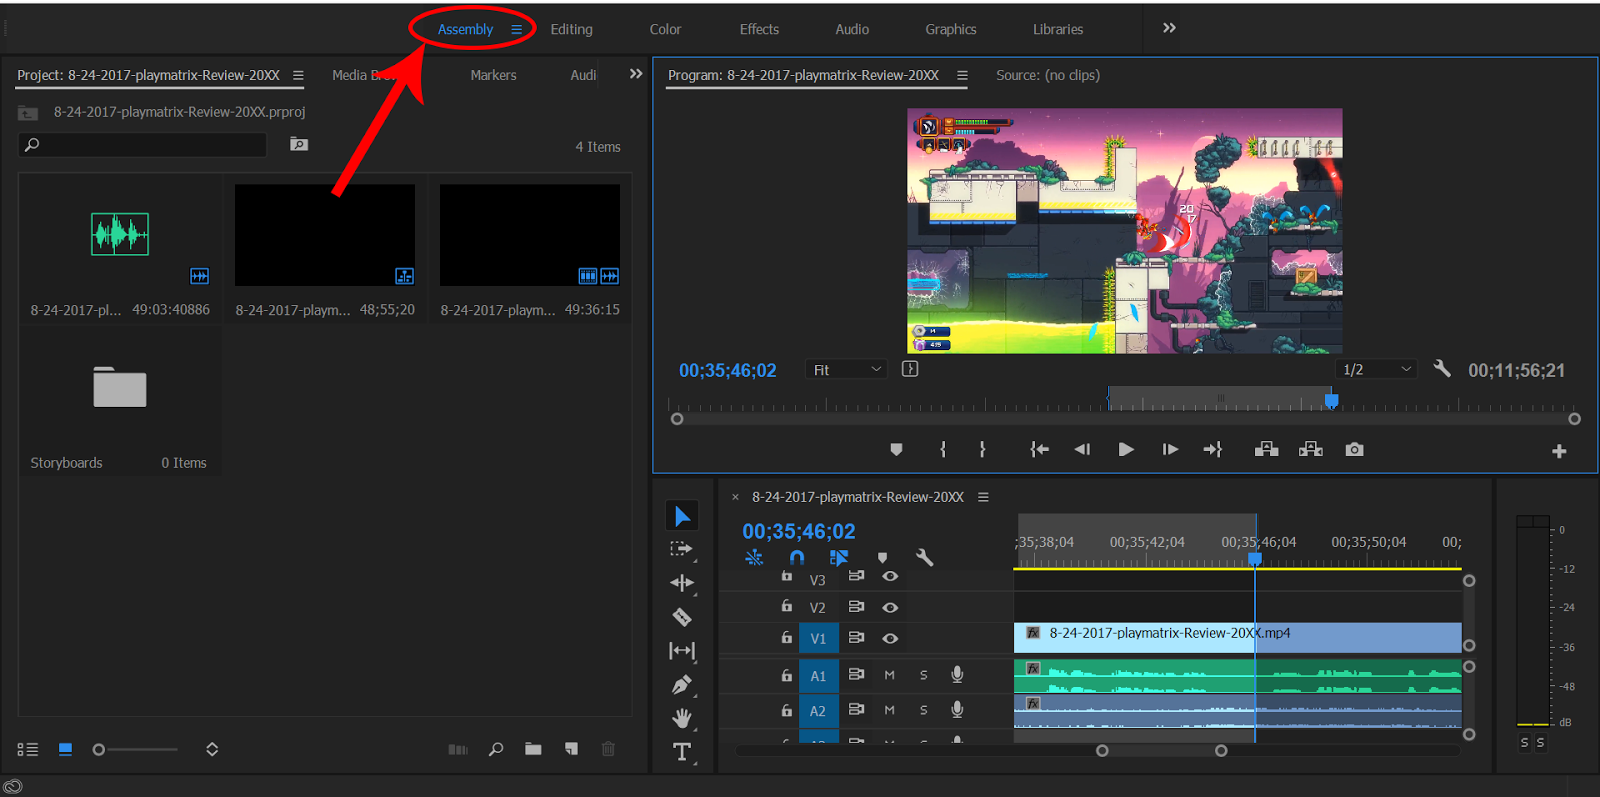
Let’s start with the basics. I’m sure I’ll touch base on some more advanced techniques in the future. For now, let’s look at the simplest commands and organizational methods associated with assembling video clips in Premiere Pro.
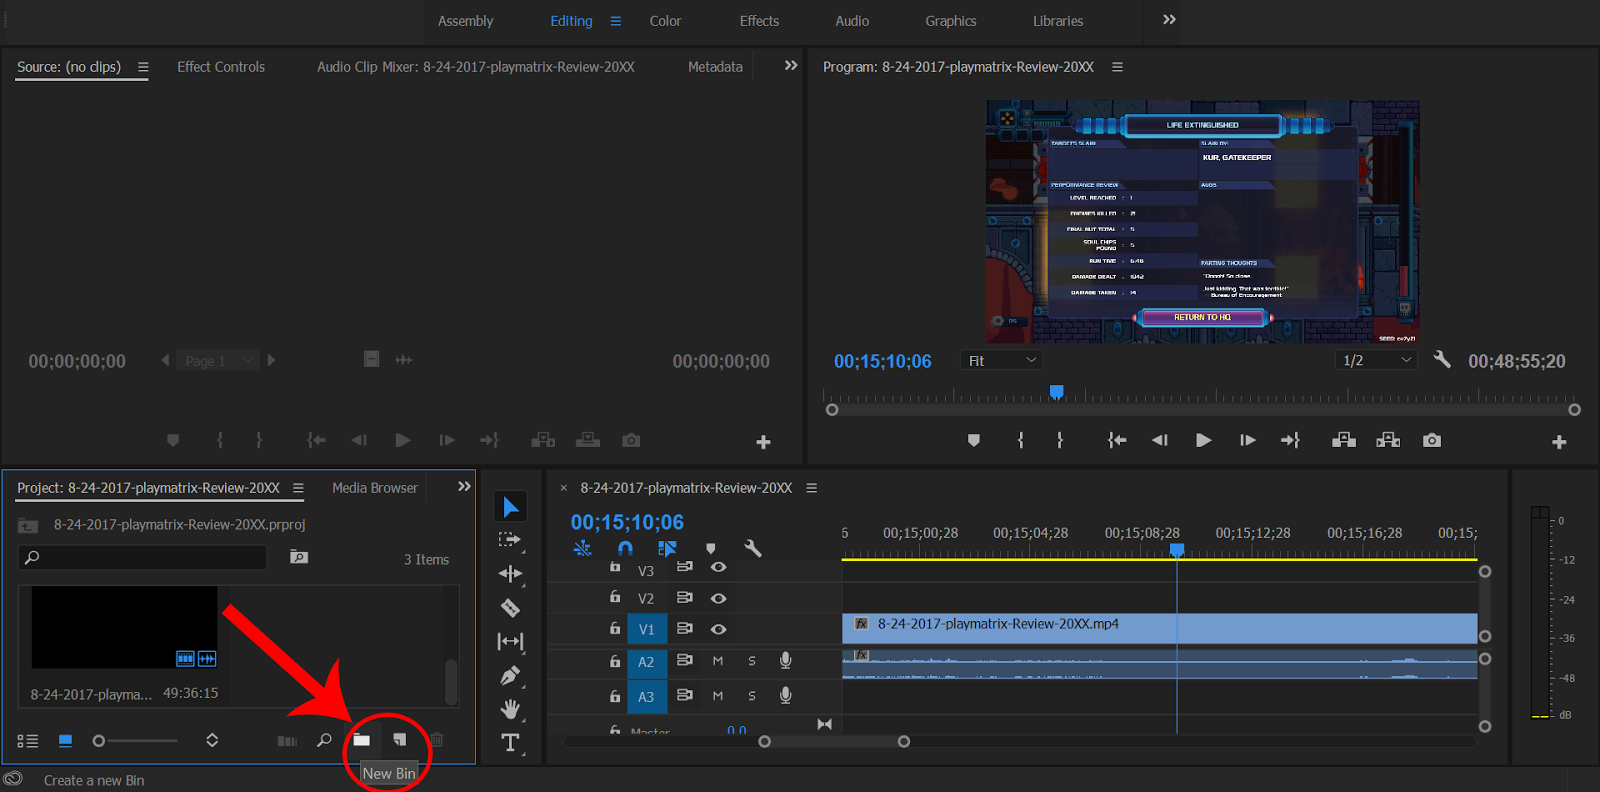
For any project that requires organizing a variety of clips into a coherent story (through the power of editing), it might be beneficial to separate those clips into a storyboard WITHIN Premiere Pro.
How? Basically, if you look on the bottom left of your screen, you’ll see all the clips for your session. There is also the option to create Bins (Folders) for your clips in order to better organize them.
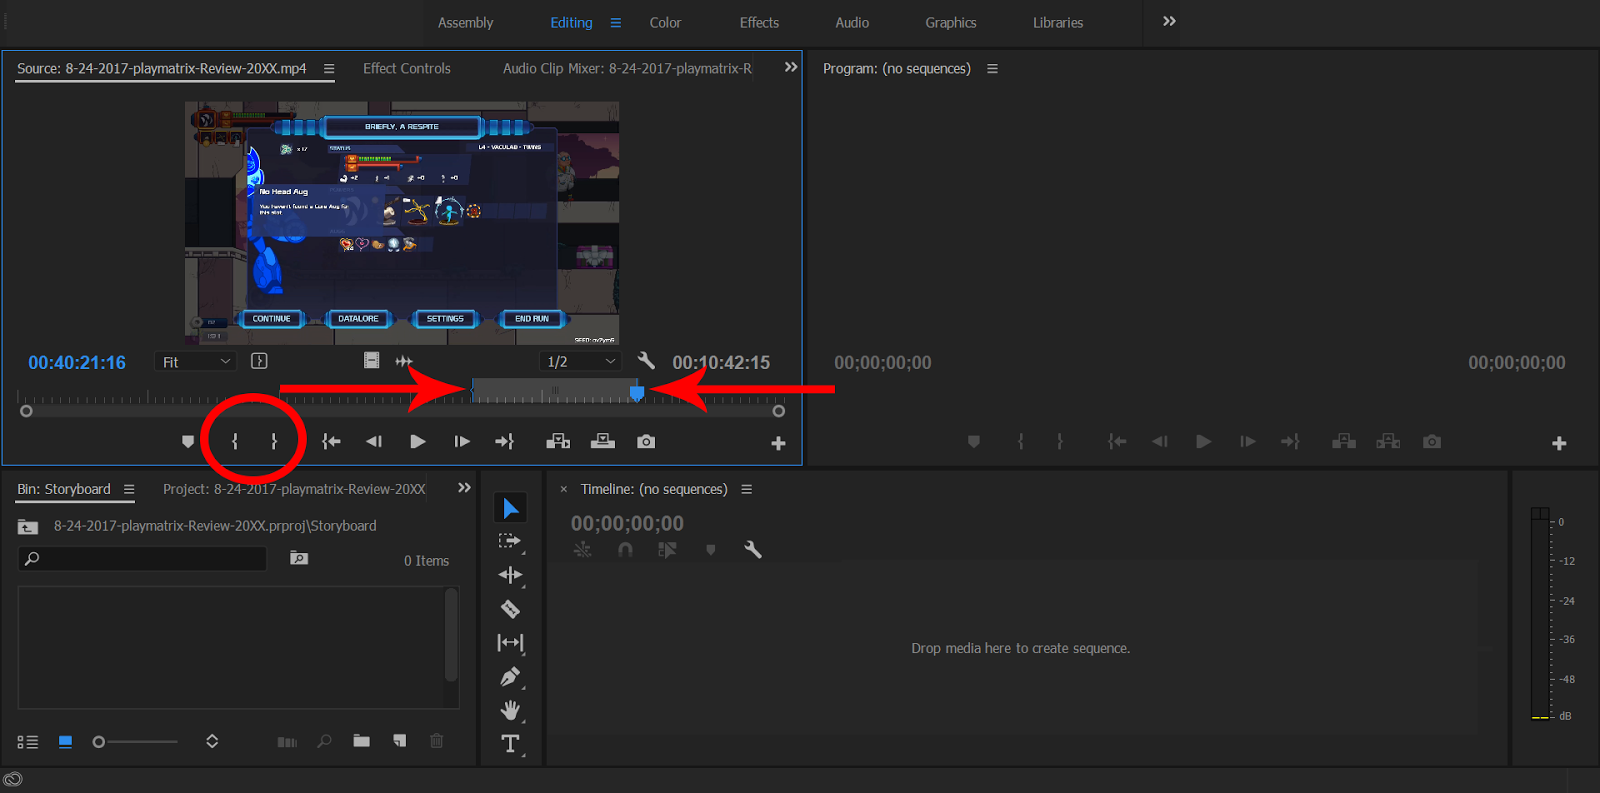
Editing clips in the Source Monitor
|
Key
|
Command Name
|
Description
|
|
I
|
Mark In/Set In Point
|
Mark the beginning of your clip selection in source
|
|
O
|
Mark Out/Set Out Point
|
Mark the end of your clip selection in source
|
|
Shift +I
|
Go to In
|
Move to In marker in source
|
|
Shift+O
|
Go to Out
|
Move to Out marker in source
|
|
.
|
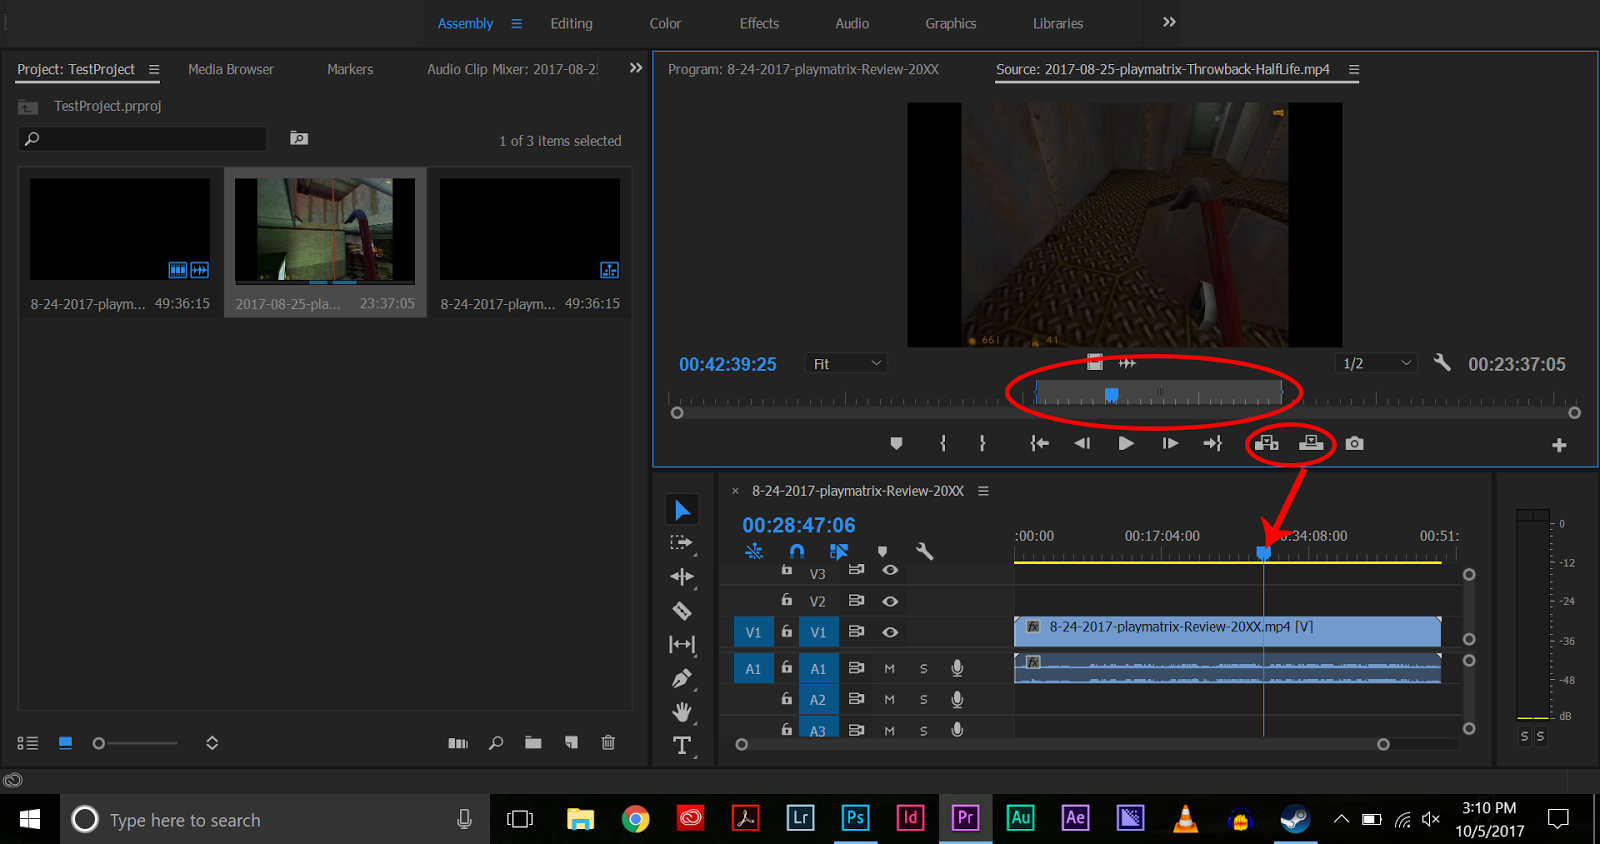
Overlay Selection
|
Replaces current position on Timeline with Source Monitor selection
|
|
,
|
Insert Selection
|
Inserts Source Monitor selection into the current place in the Timeline
|
With these tools, you can make selections from the Source Monitor. These selections can help to trim down a particular clip without any editing in the Timeline.

Leave a comment